Datastax contributors


This provides an example REST backend built in Java using Spring Boot for use with the Getting Started with Astra UI.
50 minutes • Intermediate
Updated June 24, 2022
50 minutes, Intermediate, Start Building
This provides an example REST backend built in Java using Spring Boot for use with the Getting Started with Astra UI.
This is an example of a Spring Boot Microservice for use with the Astra Getting Started UI which is found here.
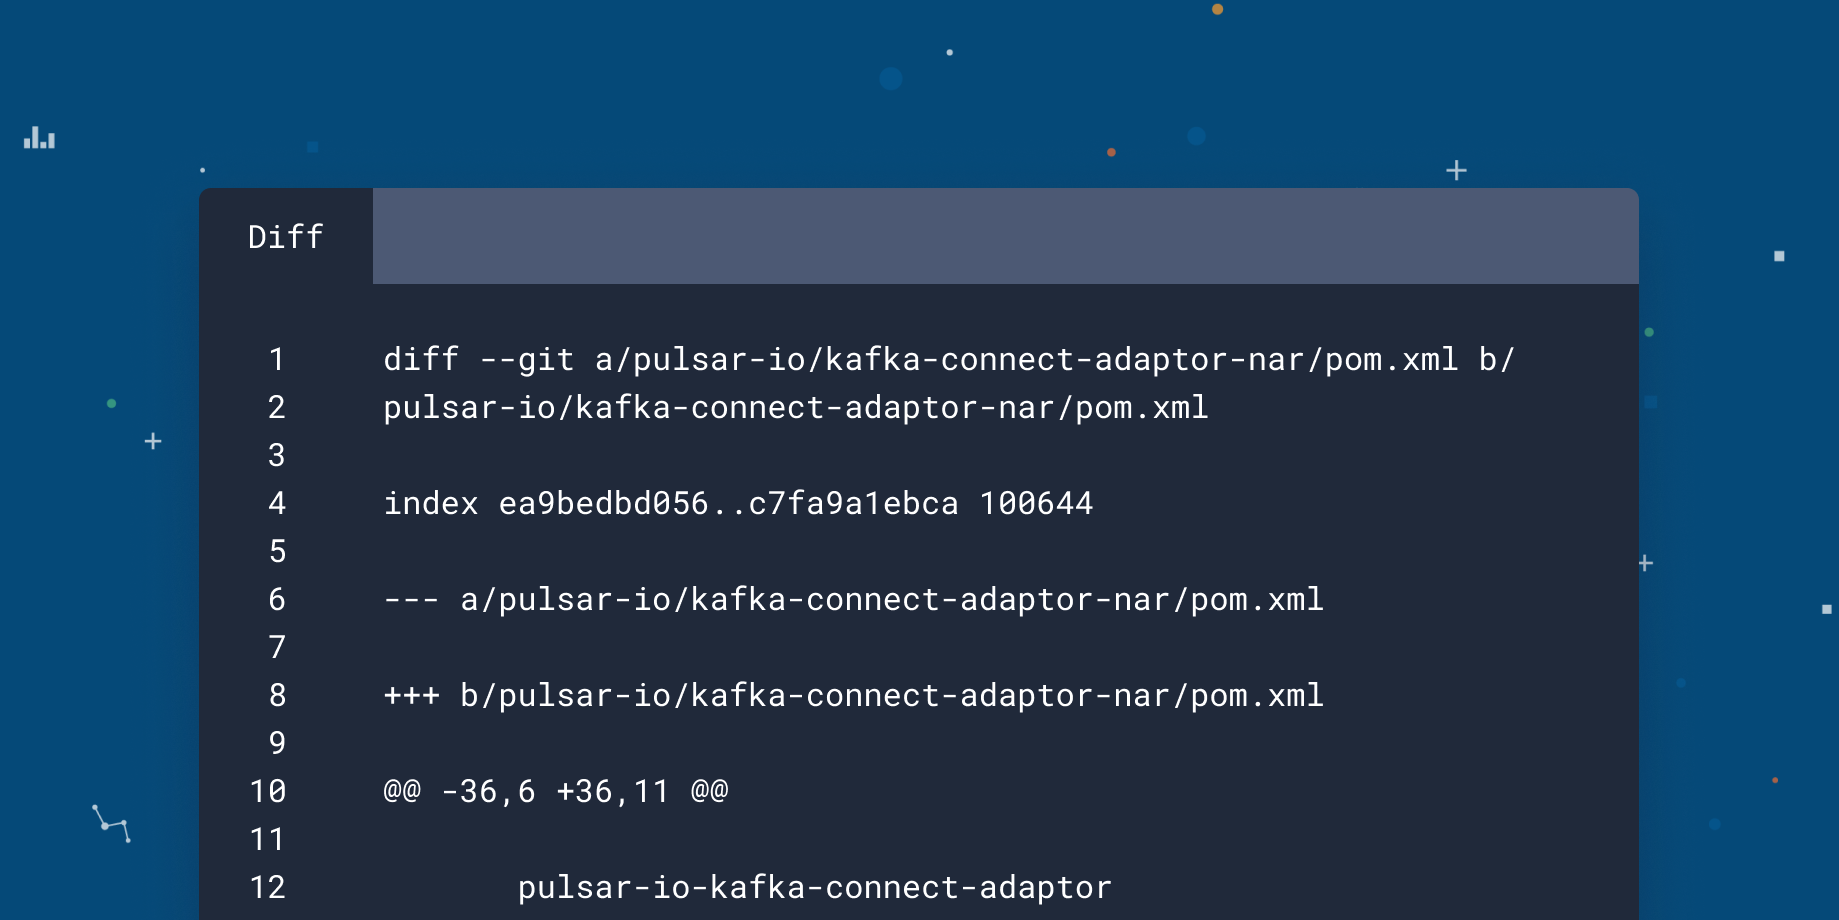
To build and play with this app, follow the build instructions that are located here: https://github.com/DataStax-Examples/getting-started-with-astra-java
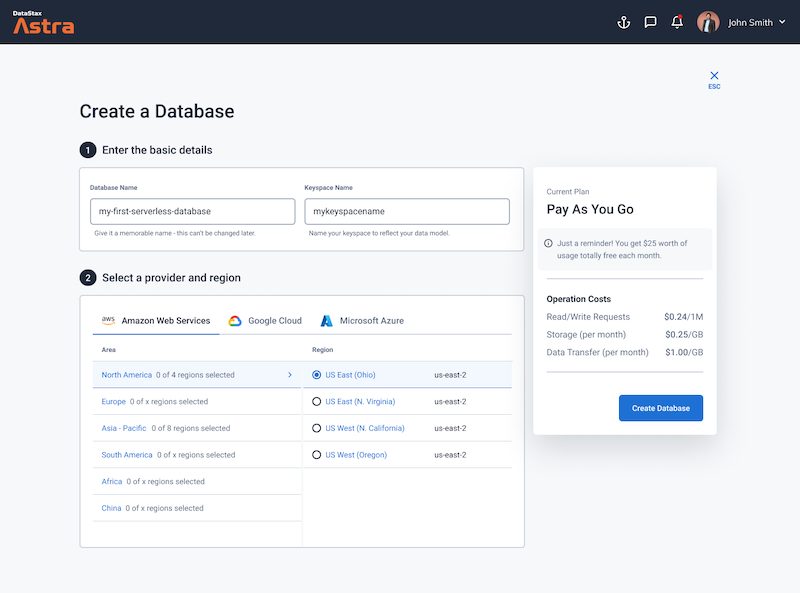
Let's do some initial setup by creating a serverless(!) database.
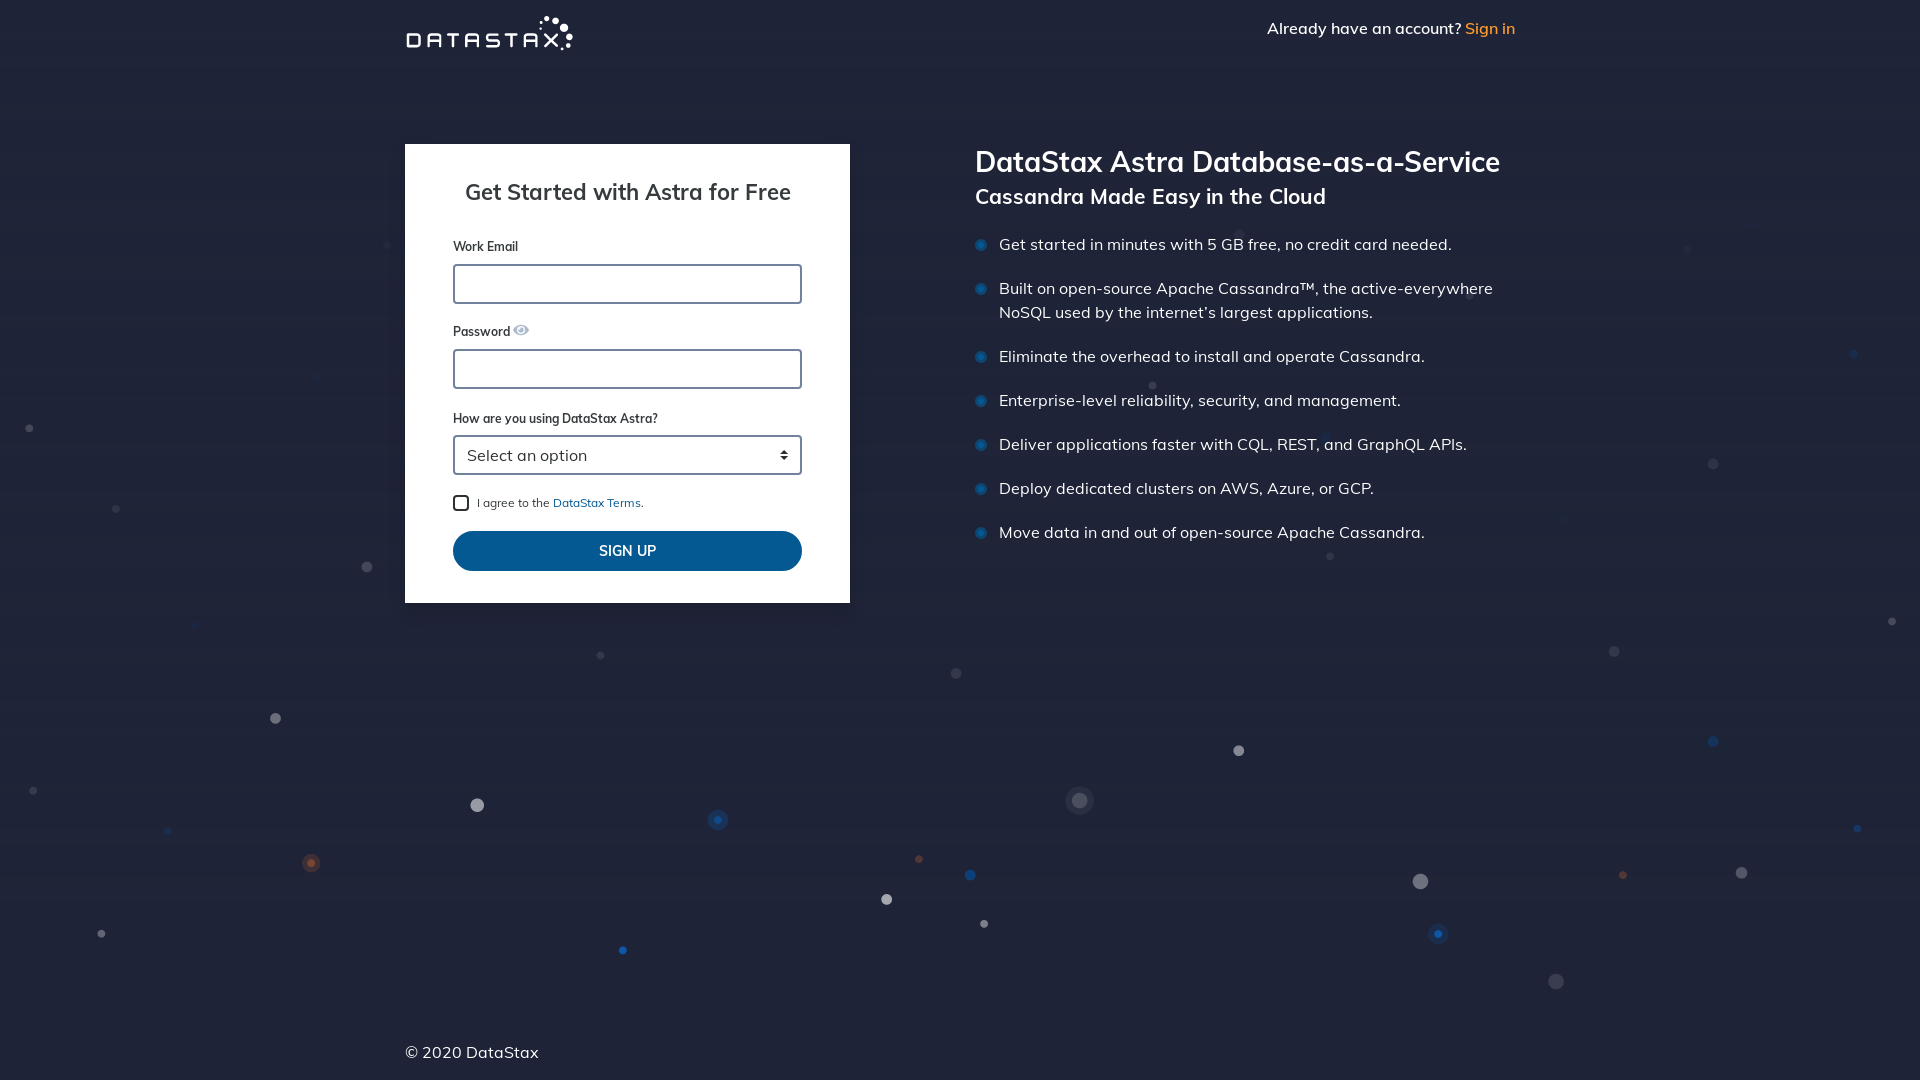
Create a DataStax Astra account if you don't already have one:
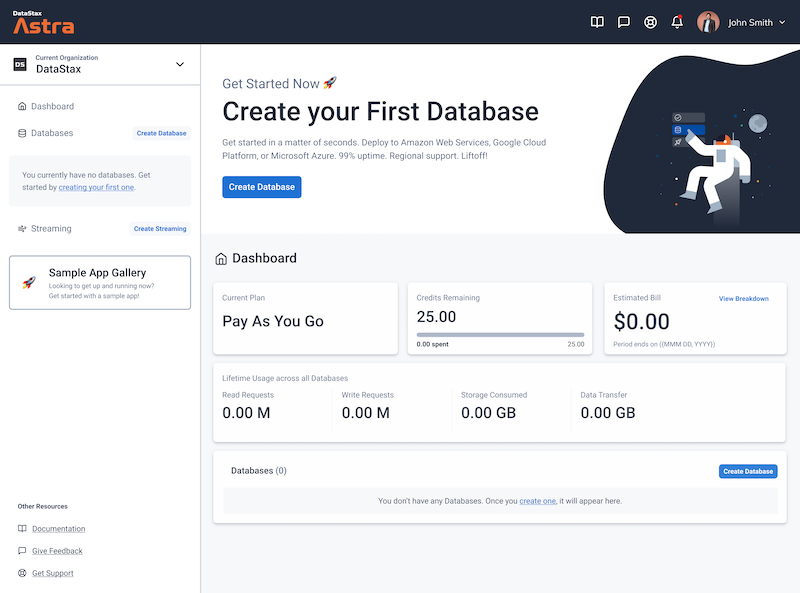
On the home page. Locate the button Create Database
Locate the Get Started button to continue
Define a database name, keyspace name and select a database region, then click create database.
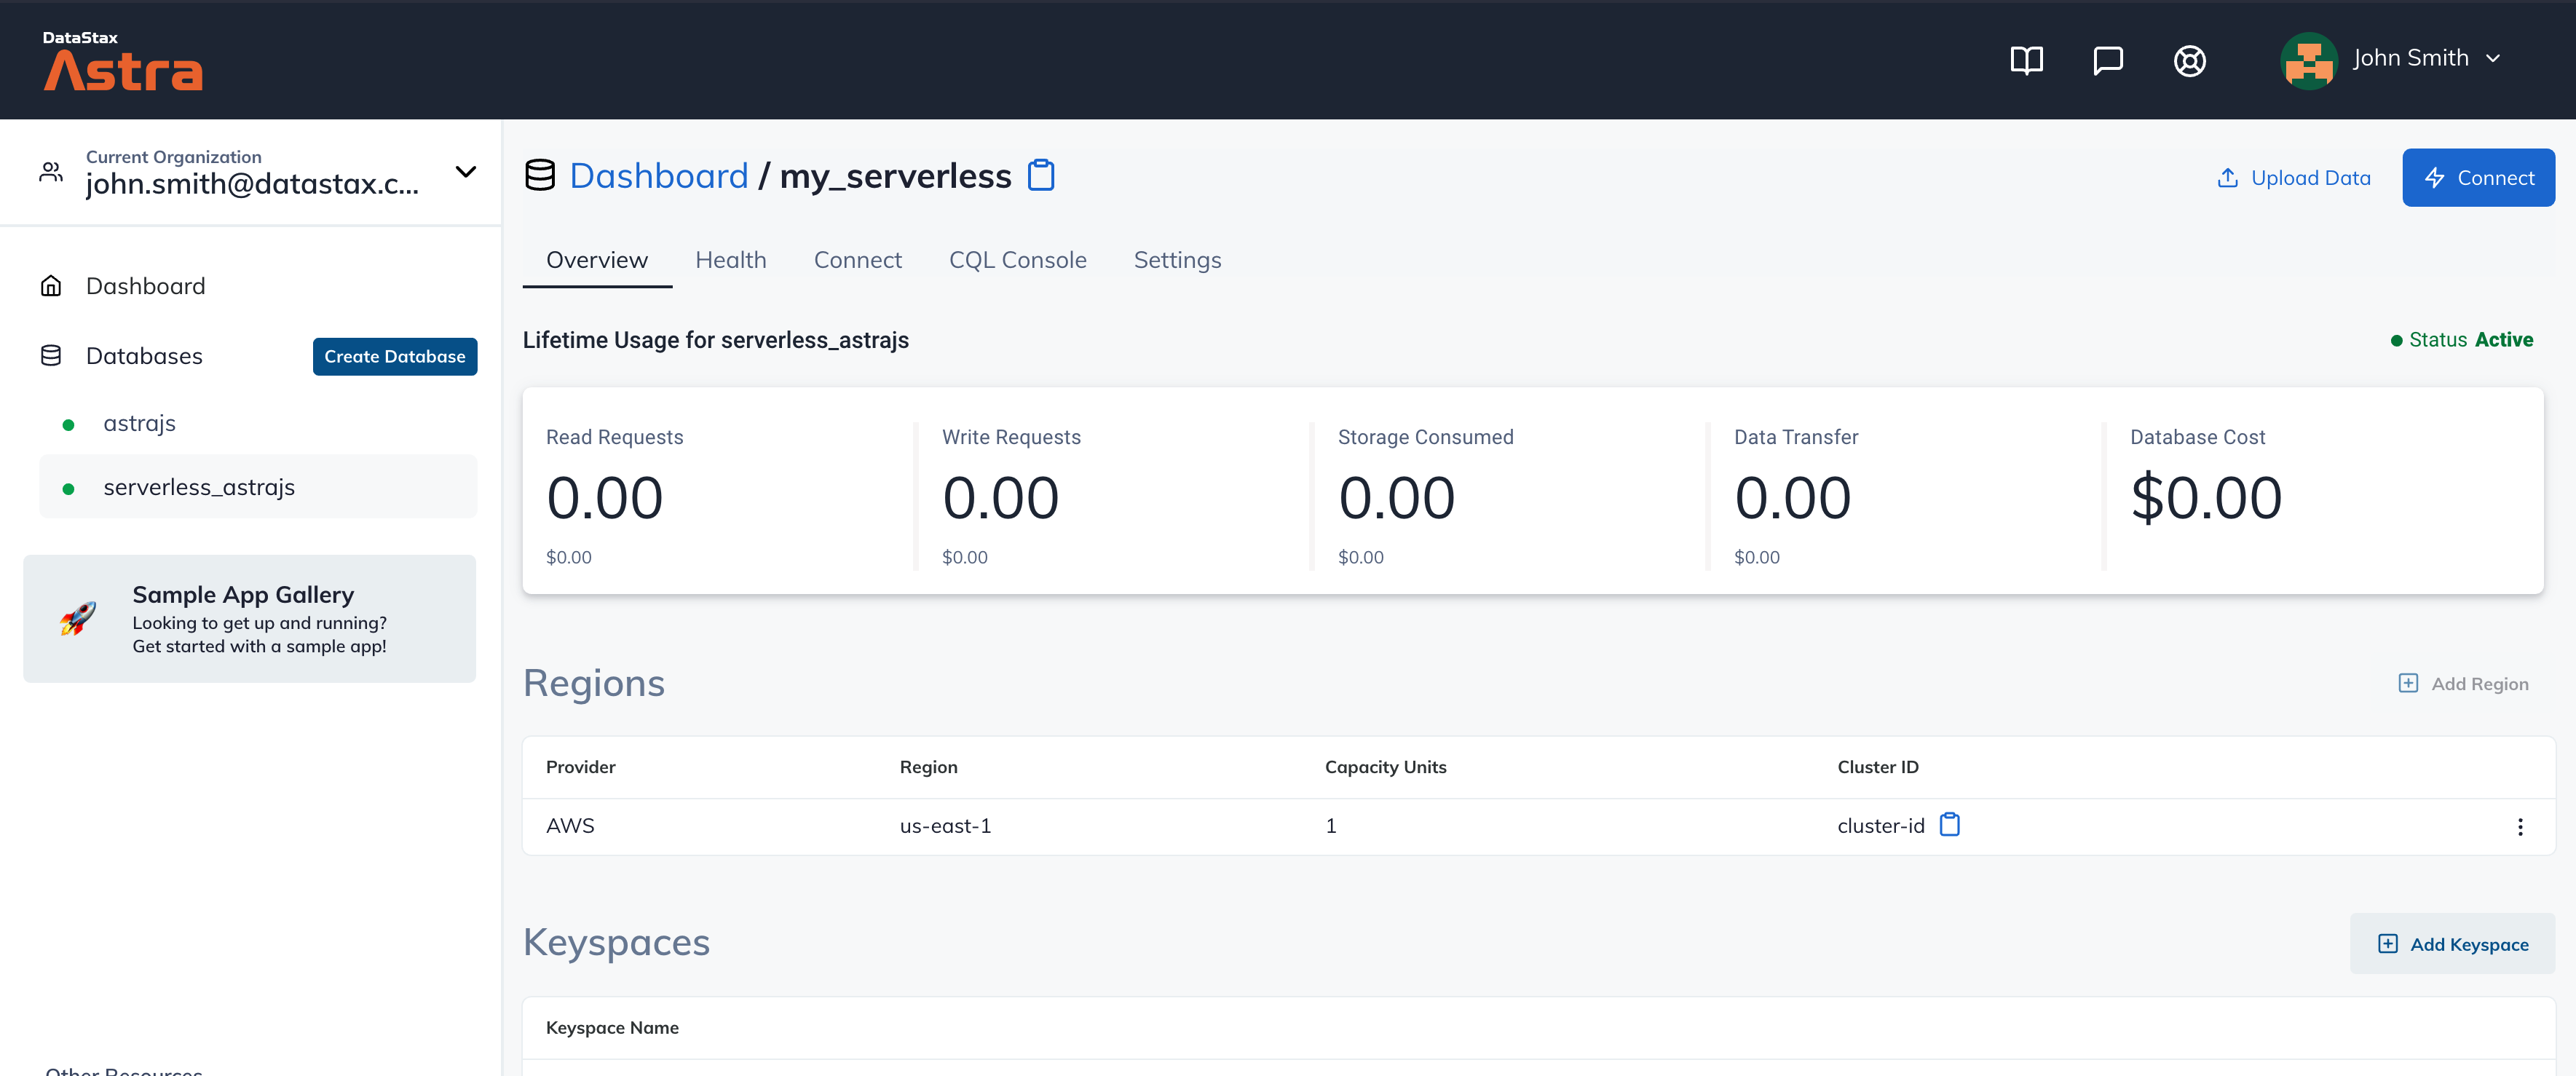
Your Astra DB will be ready when the status will change from Pending to Active 💥💥💥
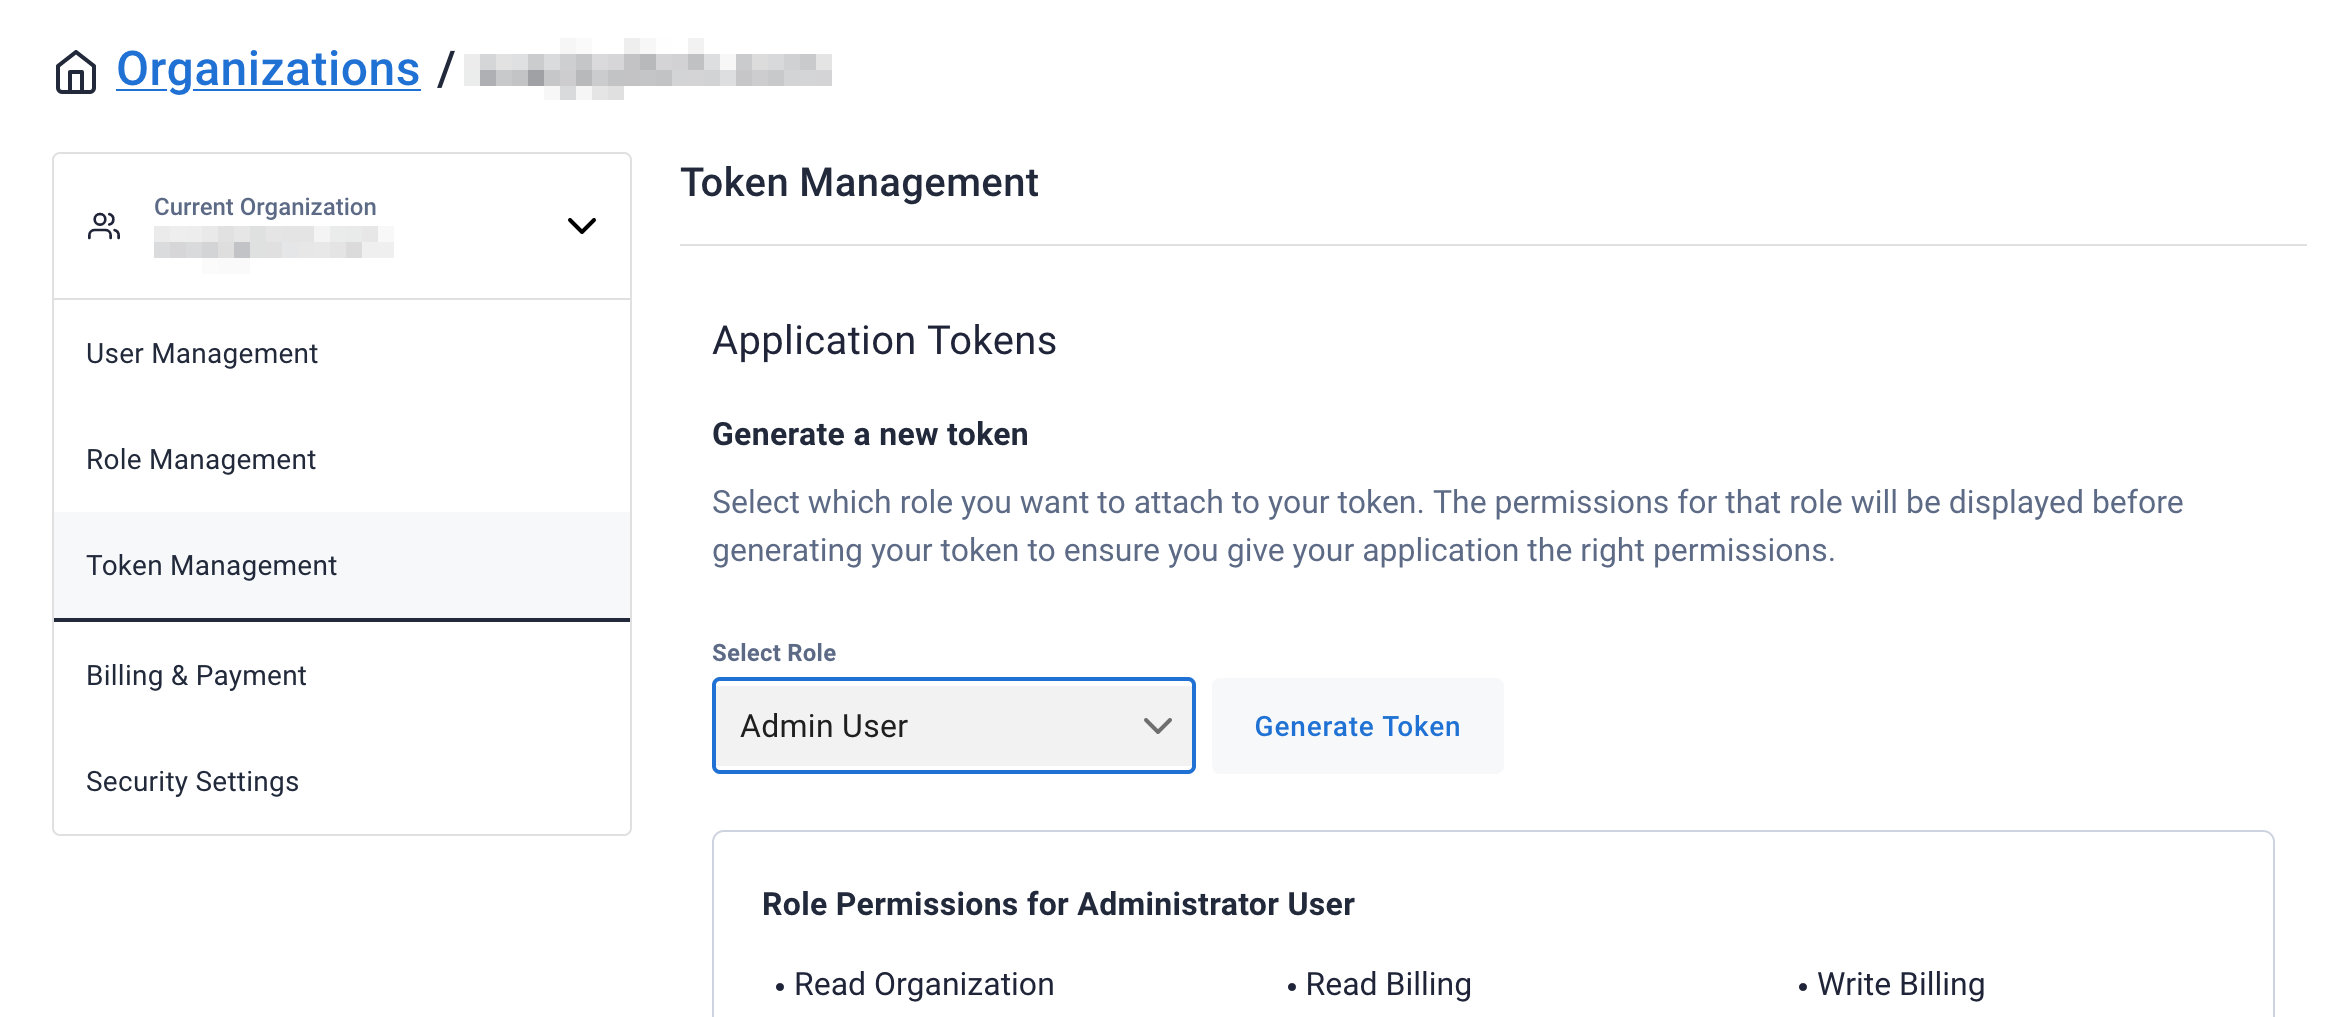
After your database is provisioned, we need to generate an Application Token for our App. Go to the Settings tab in the database home screen.

Select Admin User for the role for this Sample App and then generate the token. Download the CSV so that we can use the credentials we need later.
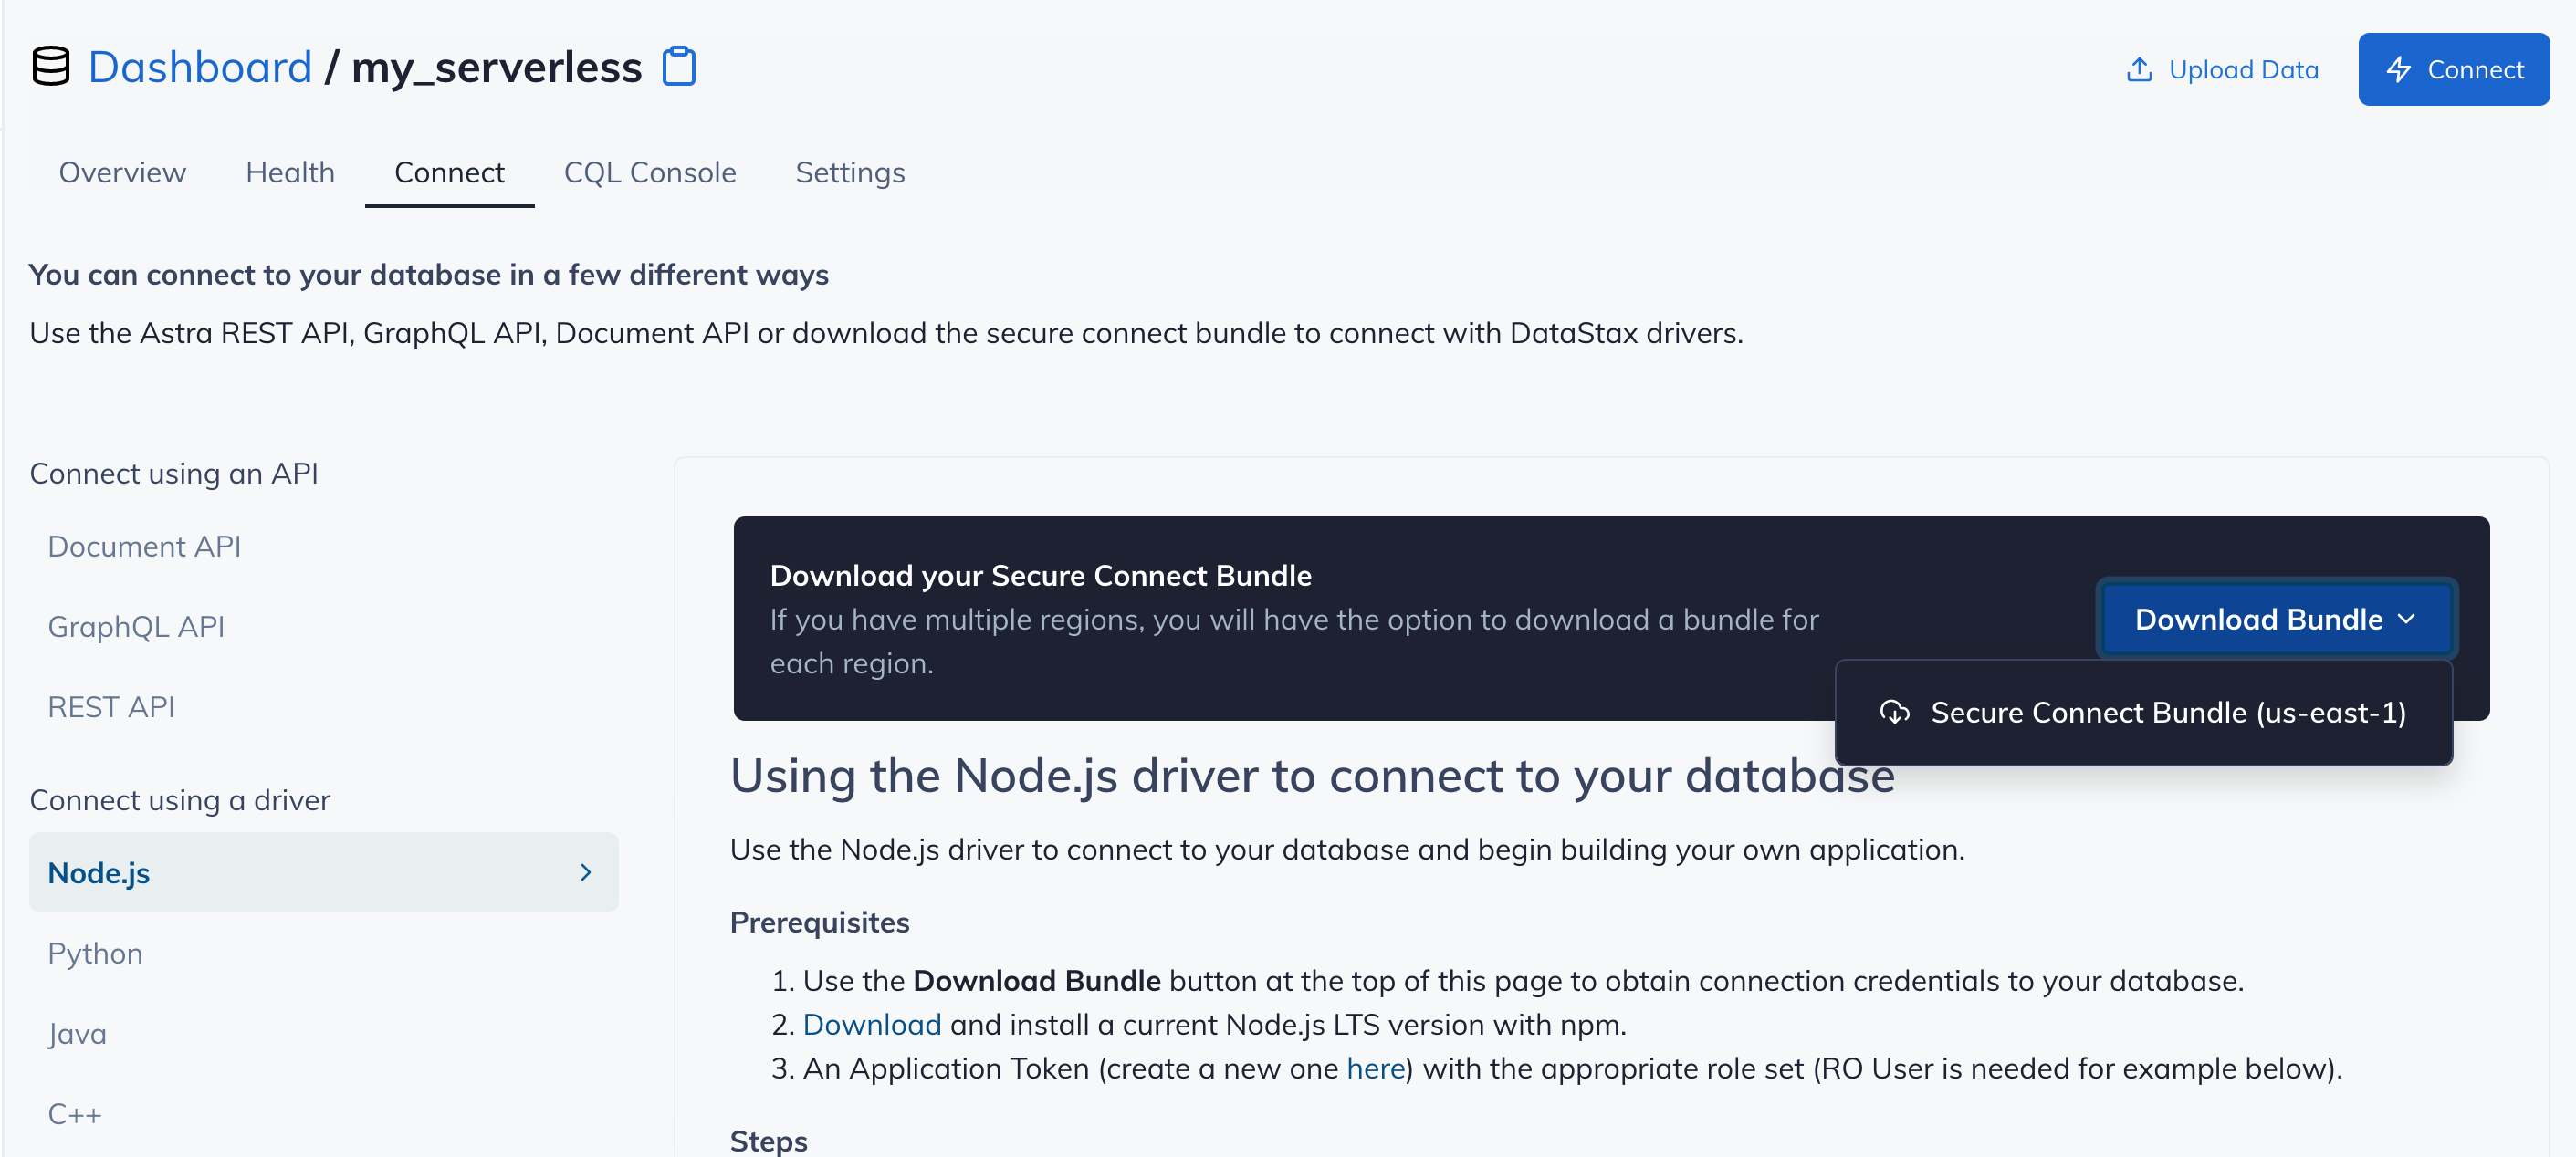
After you have your Application Token, head to the database connect screen and select the driver connection that we need. Go ahead and download the Secure Bundle for the driver.

Make note of where to use the Client Id and Client Secret that is part of the Application Token that we generated earlier.
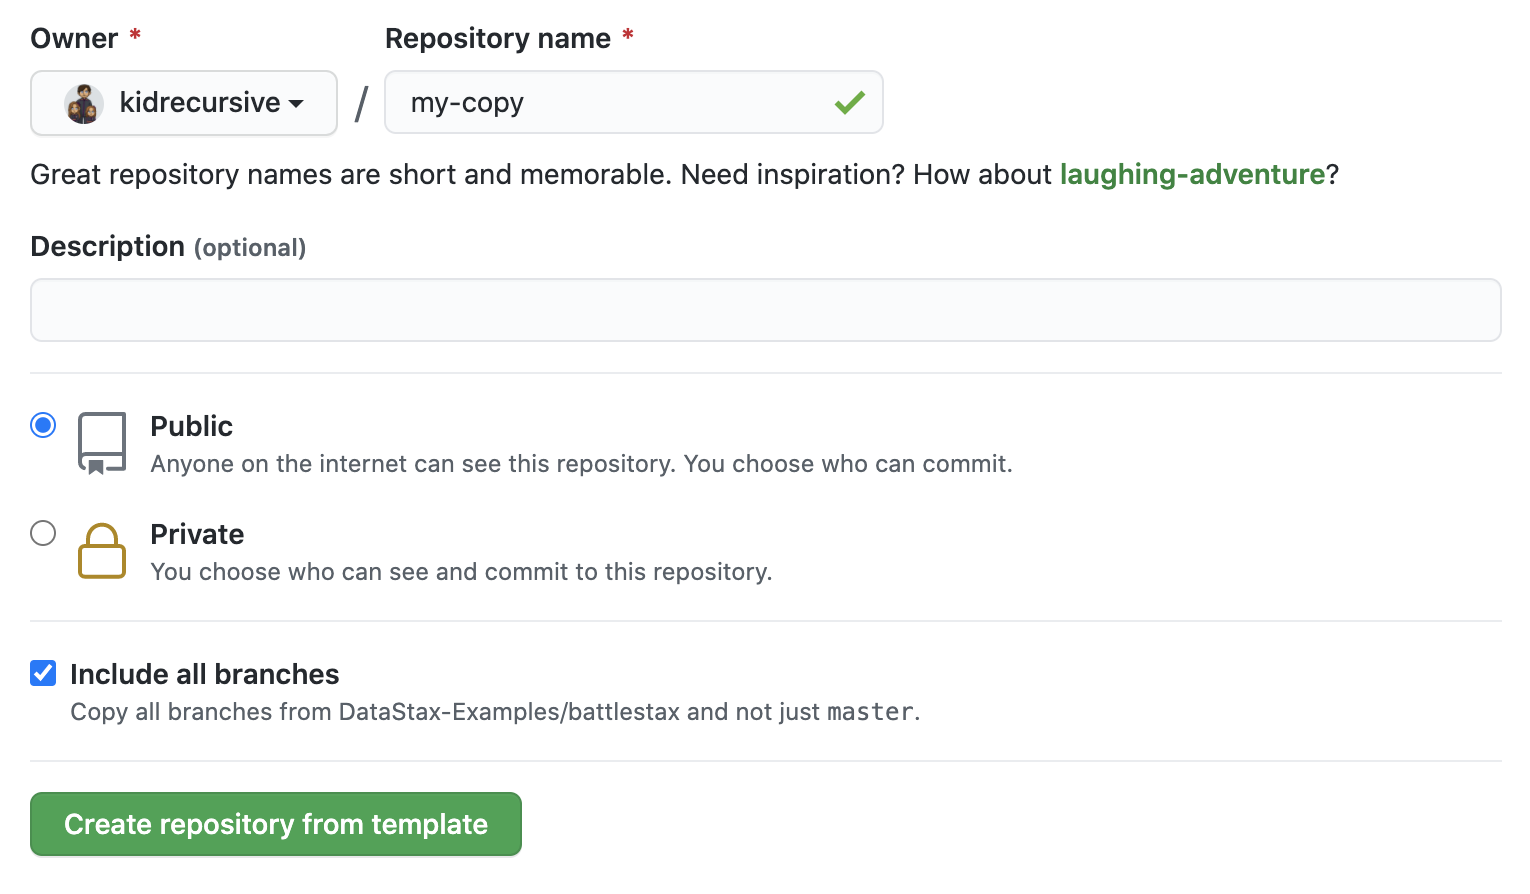
Click Use this template at the top of the GitHub Repository:

Enter a repository name and click 'Create repository from template':
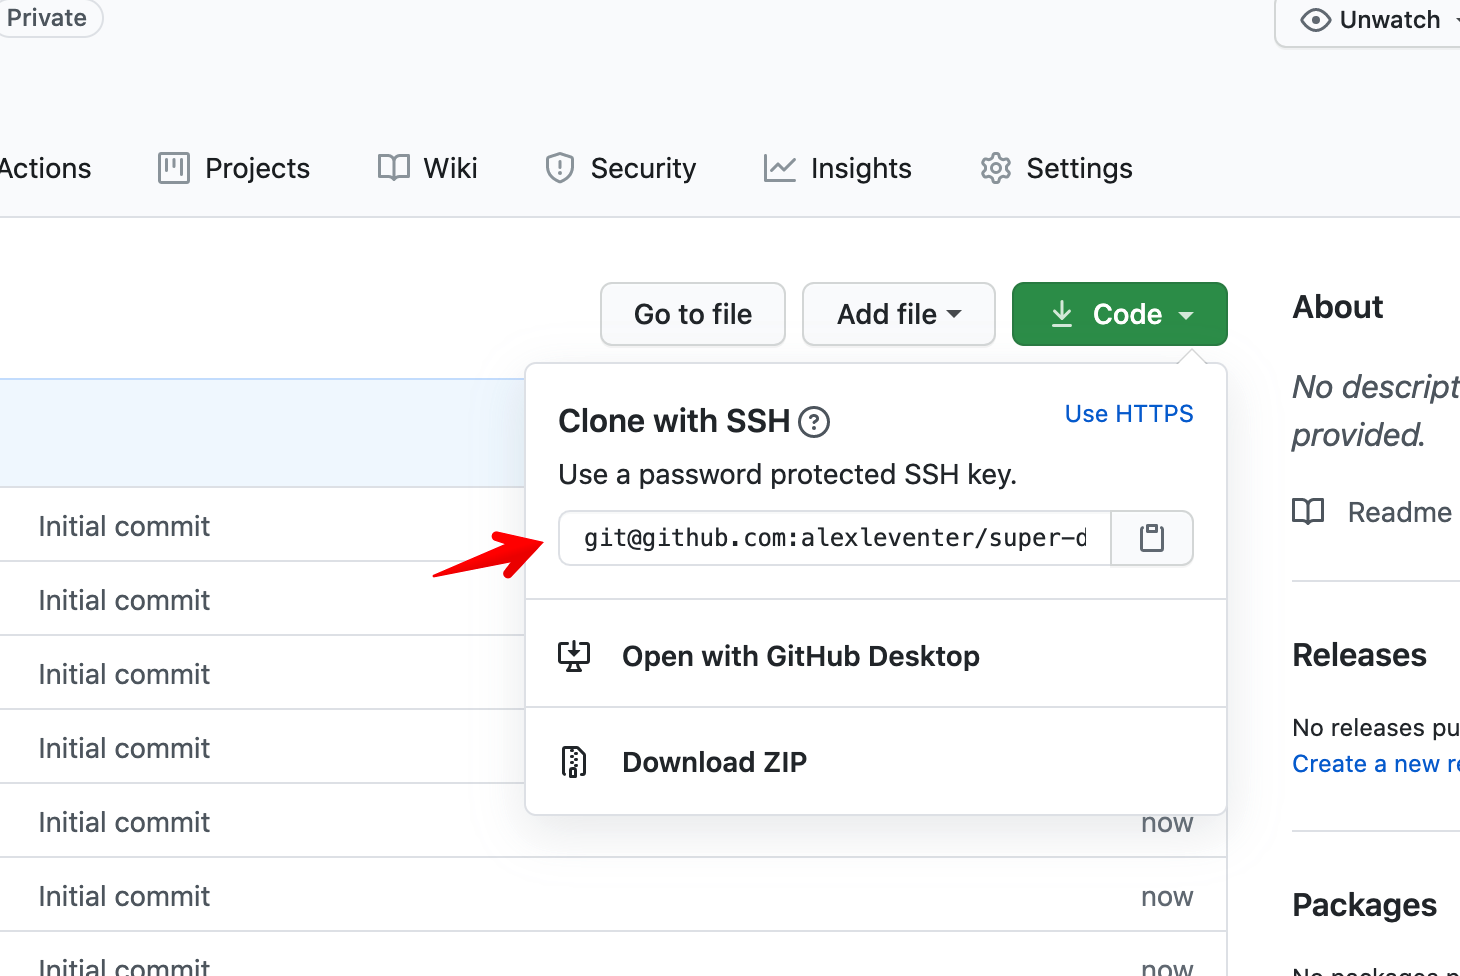
Clone the repository:
Make sure you've completed the prerequisites before starting this step
Make sure that you have:
This application is a Spring Boot web application. This sample can be run from the root directory using:
cd getting-started-with-astra-java

mvn spring-boot:run
This will startup the application running on http://localhost:8080
You will know that you are up and working when you get the following in your terminal window:
16:23:01.569 INFO com.datastax.astra.GettingStartedWithAstra : Started GettingStartedWithAstra in 1.851 seconds (JVM running for 2.39)
Note: If you want to change the listening port of the application, locate the file src/main/resources/application.yml and change key server.port
To setup the UI to connect to Java backend define a .env file in the getting-started-with-astra-ui project main directory. Inside the file it should have one entry pointing to this project's API endpoint:
BASE_ADDRESS=http://localhost:8080/api
Once you start that project with a npm run build it will point the UI to the backend API which will then be using Astra DB as a database. When you first connect to the UI, a dialog box will open asking for Astra DB connection information.

